Facebook Page Authorisation
This is a very quick post on how to authorise your business page with Facebook. Having an authorised gets you a little round circle with a tick. Simply the main benefit it that you should get an instant increase in Reach and Engagement. When I mean an instant increase we're talking about 50% plus.
There are two different types of ticks a Blue Tick and a Grey Tick. A Blue Tick is for a person of public standing i.e Celebrity, MP,known individual etc.. Grey Tick (could be white as well) is for a business page.
How to get authorised
So this is a test page we set up. You will notice that there isn't a tick by the Selling Homes 4 U.

Step 1
Click on Setting top right

Step 2
You will see "Page Verification" click on Edit and you will see a little blue link appear "Verify this Page"

Step 3
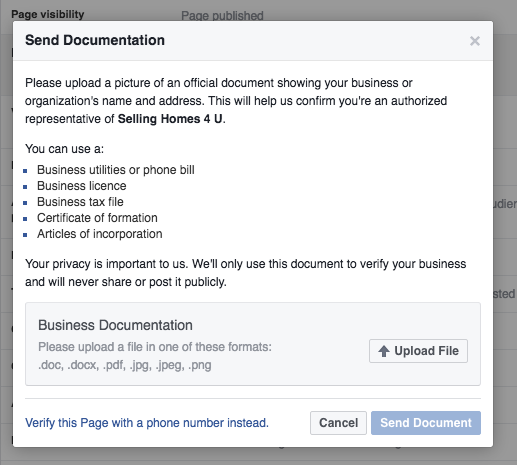
You will possibly be given 2 options to verify either by Phone or by Documents. If you have got a phone number added to your business page use this one as it's quicker to do.


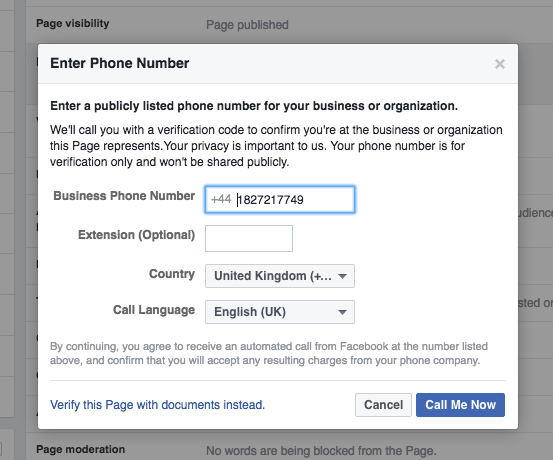
In the "Enter Phone Number "screen enter your telephone number which is associated to the Facebook Business Page. Then click on Call Me Now.
Step 4
Another screen will appear with a box to enter a PIN Number. A very nice man from either California or Dublin will call you, saying that there from Facebook and then will give you a 4 digit pin number. Add this to the box and click Confirm.
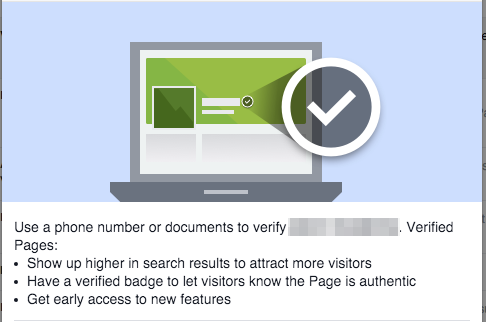
The following screen should appear just click on the Blue confirm or Apply button.

Finally:
You then should be taken back to your page where you will see the grey or white tick showing to the right of the page name.

That is is. It should take about 2 to 3 minutes to do.
